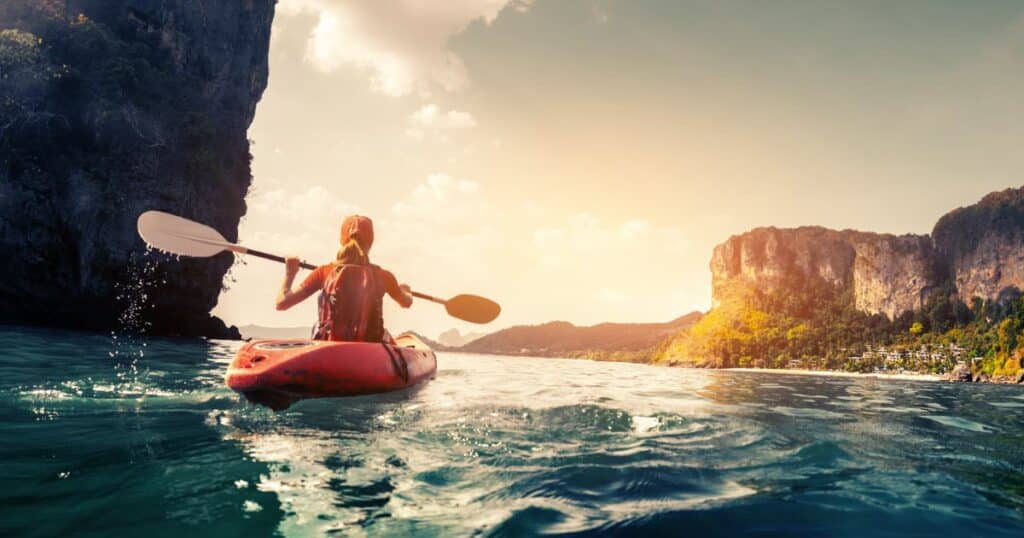
There is something so freeing about exploring by yourself. You get to be alone with nature and your thoughts, away from the usual stress of modernity. That’s one of the reasons kayaking is so popular. Today, I’ll talk about how to kayak alone, with a special focus on safety tips when on your own in a kayak.
Whether it’s on the river or the ocean, there is something soothing about spending time out on the water.
Kayaking is a popular way of exploring water bodies solo. Many adventurers have had memorable and transformative experiences after learning how to kayak alone.
If you are new to kayaking, one of the top concerns is how to explore the water and return safely.
Safety is a primary concern, even on group trips. The risk may tip since you will be alone in the open space.
But it’s not as scary as it sounds. In fact, if you prepare well, you will be back in the water by yourself more consistently.
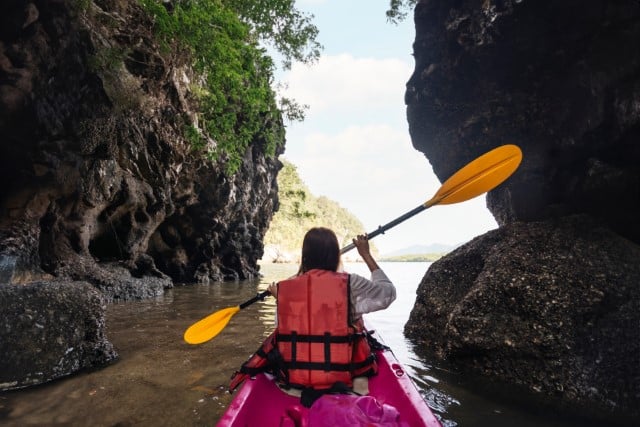
So, how do you prepare for a solo kayaking trip? I will explore everything you need to know about kayaking alone, including all the gear you need, paddling techniques, precautions, and self-rescue techniques in emergencies.
But I’ll start with a quick reminder of why being safe is important, even if you are an experienced kayaker.
Importance Of Safety When Kayaking Solo
When you go solo kayaking, you’ll be alone out on the water and won’t have anyone else with you who can help in an emergency.
That’s why even though safety is important when any kind of kayaking, it’s especially paramount when you’re going solo.
Here is some essential information on solo kayaking safety.
Prepare for Emergencies
Kayaking alone means you won’t have immediate assistance from others in emergencies. Proper safety equipment and knowledge mean you can manage a potentially dangerous situation.
Avoid Getting Lost
Proper navigation skills and tools are important to avoid getting lost and straying into dangerous places.
Self-Reliance
Kayaking alone means you are strictly responsible for your safety. Therefore, solid kayaking skills, an understanding of the environment, and navigation capabilities ensure you can handle yourself.
Preparing for the Weather
Taking precautions by examining the weather forecasts ensures you can paddle in the safest places and overcome unexpected weather changes.
Making the Right Decision
The great outdoors can throw anything at you. So taking precautions and preparing well ensures you know when to turn back, change course, and choose the right landing and launching points.
How to Kayak Alone: Pre-Trip Planning and Preparation
The first step in kayaking alone is to ensure that you plan and prepare accordingly.
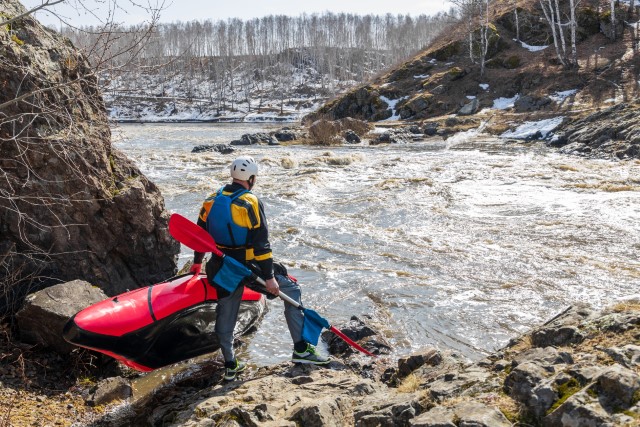
The pre-trip plan involves four key steps: determining your location, examining weather conditions, route planning, and getting all essential gear.
1. Location Scouting
The first thing you should do is determine where you want to go kayaking. Use online sources such as websites and forums dedicated to kayaking.
These resources provide information on the best places to go kayaking and the best time to visit. Alternatively, you can get insight from local kayaking rental places or outdoor equipment stores.
2. Weather Conditions
Once you have the location and date, check out the weather conditions in the areas you will potentially visit during your trip.
Use weather websites and apps, research the local climate, and check for storms and severe weather. In addition, you can check marine forecasts for coastal and open-water kayaking.
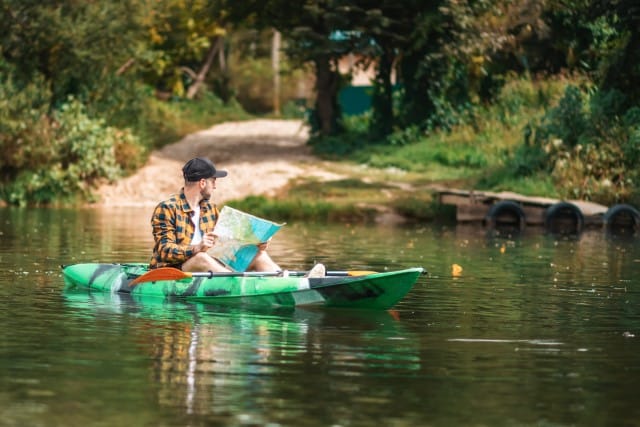
3. Route Planning
Next, plan your route, ensuring practical timelines and distances.
Set times for each section, locate appropriate landing and launching points and note difficult sections to prepare adequately. You can do this with information about the waterway from guides, online resources, and maps.
4. Essential Gear
Lastly, you must gather essential gear to help you survive the trip. Here are a few things you will need:
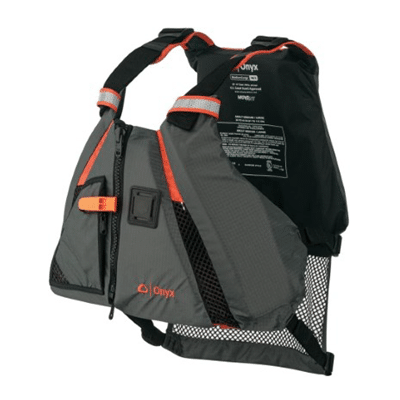
- Buoyancy aid
- First aid kit
- Paddle leash
- Dry bags
- Waterproof phone case
- Spare set of clothes
- Emergency flare or strobe
- Knife
- Headlamp
- A kayak trolley
- Kayak and paddles
With your gear ready, you can explore the next steps of a solo kayaking trip.
Tips And Techniques for Paddling
Got all your gear ready? Well, you can’t hit the waters yet.
You should learn a few more things to ensure your safety throughout the trip.
You must learn paddling techniques and navigation skills. In addition, you must understand the potential risk and how to safeguard against them as best as possible.
Let’s dive in!
1. Learning Paddling Techniques
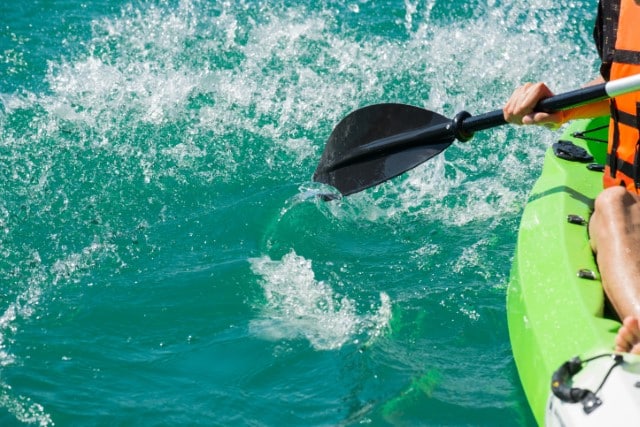
If you are new to kayaking, it helps to learn paddling techniques for more confidence. In addition, it enables you to navigate tough spots and unfamiliar waters.
Since you can’t learn everything at once, determine the type of water conditions you will kayak through. With this, you can learn the correct basic paddling techniques.
You should take a short kayaking course taught by certified instructors. Alternatively, you could practice before your big trip in calm waters to help you master basic techniques.
Check out online videos for guidance on basic techniques, stabilizing the kayak, and edging.
2. Navigation
The ability to navigate correctly is necessary for a safe and successful solo kayaking trip.
Navigation ensures you stay on course, can locate your position even if you stray away from the course, and pick out alternative routes in case of emergencies.
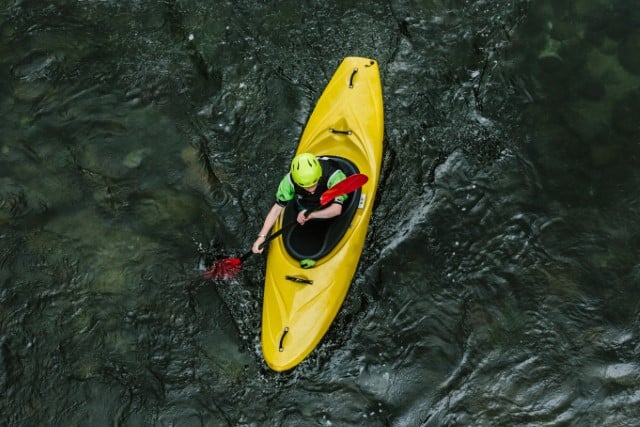
There are various tools and methods you can use to help ensure you achieve accurate navigation on a solo kayaking trip. I’ll reveal them below.
Charts and Maps
Search online for nautical charts and topographical maps of the water body you will explore. Nautical maps provide hazards, shoreline features, and water depths.
On the other hand, topographic maps show potential access points for launching and landing. Familiarize yourself with the maps and charts or make copies to trace your way as you travel.
GPS Devices
GPS devices are great for modern kayakers because they can help you keep track of the route as you explore. Just ensure that the unit is waterproof and produces accurate position information.
Check out kayaking forums to discover what regular explorers use. Once you have the device, make key points such as launch and land points, landmarks, and potential emergency courses and exits.
GPS devices should not be your only navigational tool since some areas, such as dense woods and tall cliffs, limit reception.
Landmark Identification
Landmarks help you stay oriented. Therefore you should identify any prominent features along your route.
Similarly, pay attention to artificial structures such as buildings, lighthouses, piers, and bridges. They are excellent reference points.
Compass Navigation
Always carry a compass as a backup navigation tool to help you retain a sense of direction. The compass enables you to take bearings on landmarks, thus allowing you to establish your position in relation to known features.
Get oriented with using a compass for kayaking purposes.
Dead Reckoning
Finally, when in doubt, you can use dead reckoning. It is determining your position based on your last known location.
Start with a known location on your map or chart. Then advance a line along the course a distance based on average speed and elapsed time.
Dead reckoning is ideal for people who know their average kayak travel speed.
3. Potential Risks and Precautions for Solo Kayaking
Even with company, kayaking is not free from risks. You could encounter several challenges on your solo trip.
Therefore, it is always advisable to prepare adequately.
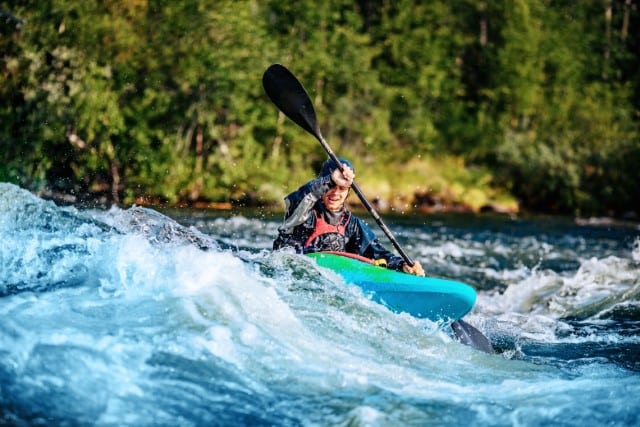
So, for the sake of being ready, here are the potential risks of solo kayaking. I’ll also talk about the precautions you can take for each of them.
Bad Weather
Poor weather is not in your control. So, even if the forecasts show favorable weather, a storm could brew at any moment.
Check the weather forecast for the day of your kayaking trip, both in advance and on the day of your trip. Remember, forecasts can change.
Also, make sure you bring safety gear to help you stay dry and warm.
Unexpected Swim
You may fall into the water, which could be life-threatening if you’re not wearing a PFD. This is true even if you’re a great swimmer.
Remember, there could be strong rapids, you might hit your head or get entangled in something, or you could be far away from the shore.
It’s best to stick with gentle and calm waters if you’re going on a solo kayaking trip. Make sure you thoroughly familiarize yourself with the terrain in advance, as well.
It also helps to take swimming lessons if you fall into the water. I’ll explain some self-rescue techniques further below.
Sunburns
Spending time in the open means exposure to UV rays. Therefore, ensure adequate protection such as waterproof sunscreen, a hat, UV-blocking sunglasses, and long sleeves.
Dehydration
It is easy to get dehydrated, especially during cold weather. Ensure you pack enough water for your trip and drink it often.
Avoid sugary and caffeinated beverages, as you’ll end up dehydrated more quickly.
Wildlife
Exploring the great outdoors sometimes means connecting with nature in more ways than one.
Some locations have dangerous animals, such as poisonous snakes, bears, and sharks, if you kayak in the ocean.
You must take precautions such as carrying bear spray when camping, avoiding deep ocean waters, and staying on designated trails to avoid snakes. In addition, avoid leaving food around campsites, as it attracts wild animals.
Punctures
Good quality kayaks can last through all water conditions. So, ensure you buy or rent a high-quality boat.
In addition, you should consider an inflatable kayak with several air chambers to ensure you stay afloat even if you sustain a puncture.
4. Self-Rescue Techniques
Here are some preparations and techniques you can use to make sure you can rescue yourself if things go wrong when you’re solo kayaking.
Know how to perform a wet exit
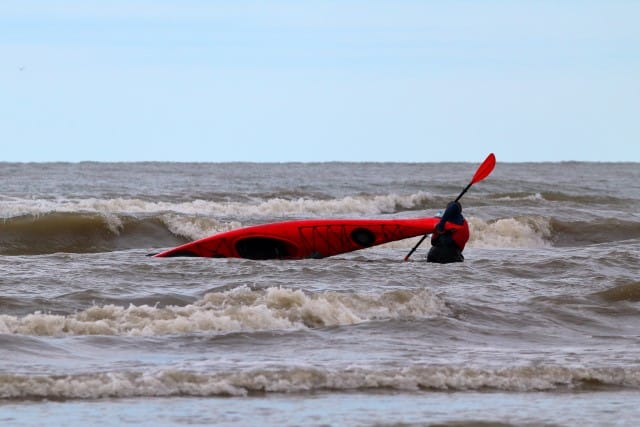
If you capsize, perform a kayak wet exit by leaning forward. Once underwater, remove the spray skirt by grasping and pulling the loops. Next, place your hands on the cockpit and bring your knees together before pushing off the coaming.
When you are back above the water, retrieve your paddle and hook your leg to the cockpit to keep it close.
Attach the float to a paddle blade, slide out your leg, and reach under the far edge of the coaming. Pull it towards you and use your opposite hand to push the hull up and away. Once it’s up, pump some water out of the boat.
From here, re-enter the boat by gripping the cockpit firmly with one hand. Slip your knee over the paddle shaft, letting your calf stabilize the paddle. Push off the shaft to lift your chest onto the boat.
Pivot your legs over the paddle until you can slide them into the cockpit, face down and backward. You can pause to maintain stability.
Roll your body within the cockpit with your chest angling towards the paddle side to prevent tipping.
Now that you are in the boat, you can pump water out and reattach the spray skirt.
Basic First Aid For Kayaking Injuries
The goal of basic first aid for kayaking injuries is to reduce pain and swelling, as well as lay the foundation for proper rehabilitation.
Here are the steps to follow if you get injured while kayaking.
Protection
The first thing you should do is remove yourself from the water or the kayak if you sustain an injury. Paddle to the nearest landing point to tend to the wound.
Cleaning
Clean your hands with sanitizer or soap and water.
Cuts and Scrapes
If you have a cut or scrape, clean the area with water, then remove any visible splinters or foreign objects using tweezers. Clean the wound with disinfectant, then wrap it with a bandage. You can use duct tape to hold the dressing in place.
Bruises and Sprains
Place the injured area in a stable place and avoid putting weight on it. Apply a cold compression, such as a piece of cloth dipped in water, every 15 minutes.
Finally, elevate the area to reduce swelling. You can also take some painkillers to manage pain.
Final Thoughts on How to Kayak Alone
While the allure of kayaking alone will always lie in the serenity of open waters, the thrill of adventure, and a transformative experience, those draws come with special responsibility.
Following the guide above ensures that your testament to courage and connection to nature ends happily with you at home. So get on that self-discovery boat confidently and safely!

