When you think about kayaking, painting the watercraft probably isn’t the first thing that comes to mind. But if your watercraft is a little worse for wear, a fresh lick of paint can make all the difference. Today, I’ll tell you how to paint a kayak and achieve a like-new finish you can be proud of out on the water.
In this article, I’ll provide a step-by-step guide detailing how to paint a kayak the right way.
I’ll discuss cleaning the kayak and preparing it for paint, as well as selecting the best type of primer and paint to use on your kayak. I’ll also talk about some tips and tricks to get the best paint job possible.
Let’s get started!
Some Popular Reasons to Paint a Kayak
Now, not everyone will want to (or need to) paint their yak.

To begin with, I’ll cover some of the reasons why you might want to think about painting your kayak.
It Improves the Value of Your Boat
Before we get into the painting guide, let’s discuss the benefits of painting your kayak.
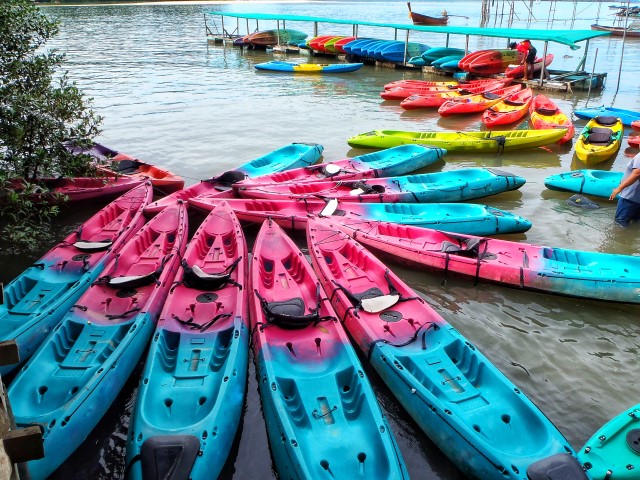
Many kayakers paint their kayaks for the purposes of identification, visibility, camouflage, and even for its resale value.
It is Easier to Identify Your Kayak
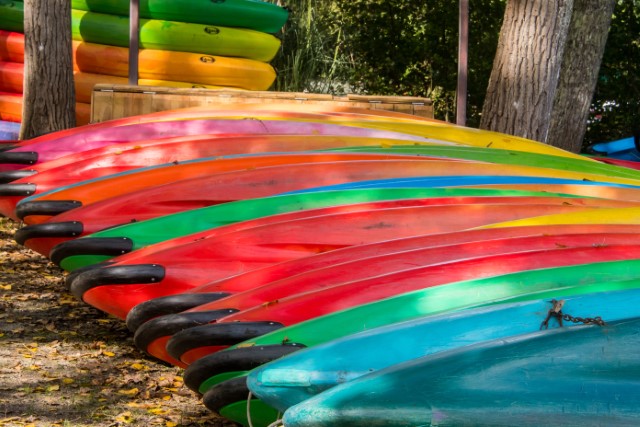
Making your kayak easier to identify is one of the top benefits of painting your kayak a new color or design.
Kayaks come in different builds and models, but at the end of the day – they’re all the same thing: kayaks.
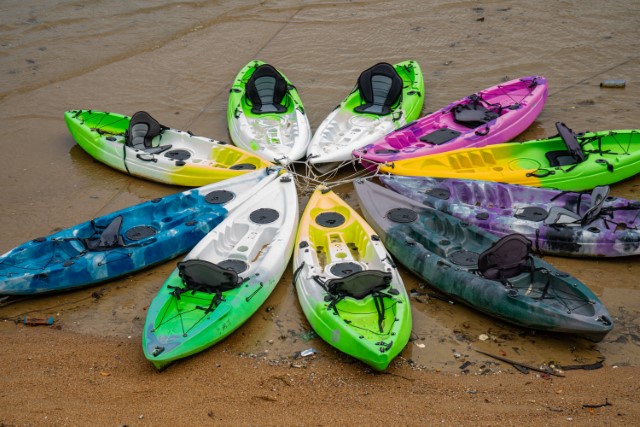
Painting your kayak can add a great personal touch, while also allowing you the indicators needed to be able to pick yours out from the bunch.
Your Kayak Will Be Better Protected
A coat of paint can go a long way for your kayak. It will protect it from UV rays, water exposure, and even potential abrasions that can be caused by things like branches or other hard surfaces that could scratch or damage your kayak.
Protection from these things can ultimately prolong the life of your kayak. You’ll be glad you took the time to paint your kayak if you ever decide that you want to sell it.
Kayak maintenance can ultimately increase its resale value.
Improved Visibility Can Make You Safer
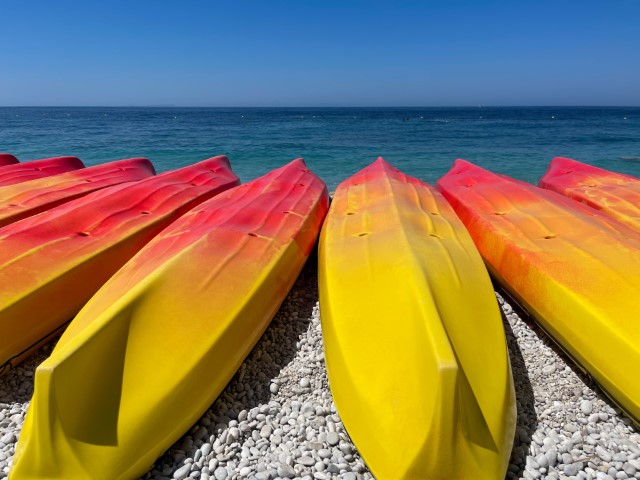
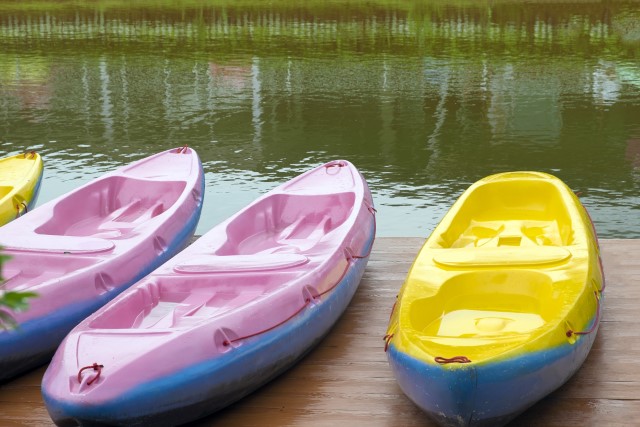
Painting your kayak a bright color can increase its visibility when you’re out on the water.
If you’ll ever be kayaking in places with lower visibility or ever go out on the water at night, I highly recommend painting your watercraft a bright color.
Choose Camouflage for Stealth
While using a bright paint can make your kayak more visible, you can use other colors to camouflage your watercraft.
Choose colors that blend in with the natural environment to make your kayak harder to see.
This is a great idea if you plan to hunt from your kayak.
What You’ll Need to Paint a Kayak
Now that I have revealed the different reasons why you might want to paint your kayak, let’s jump right in.
From the preparation stage all the way to its finishing touches, I’ve got you covered.
Let’s start by talking about the materials you’ll need to paint your kayak.
Supplies You’ll Need
Make sure to gather all the supplies you will need to paint your kayak. It’s best to be thoroughly prepared before you start the painting process.
Here is a list of all the supplies that you will need.
- Tarp: You may want to consider laying down a tarp to protect surrounding areas of where you intend to paint your kayak.
- Cleaning agent: prepare a mild detergent as the first step will be to clean your kayak.
- Sanding paper: you need to sand your kayak with sanding paper during the preparation process. This will create a smooth surface on which to prime and paint.
- Primer: You need an appropriate primer so that you can prime your kayak before painting it.
- Paint: You need a marine-grade paint to paint your kayak. This kind of paint will stand up to the water and wear and tear of kayaking and similar activities.
- Mask: You must wear a mask when you’re preparing your kayak (including when you’re sanding it), priming it, and painting it. This is essential to prevent breathing in harmful chemicals and particles.
- Gloves: You will also want to protect your hands as paint may be hard to remove from skin.
- Sealant: This is a clear coat that you use to seal in your kayak’s new paint job. This will make the paint durable and prevent peeling and cracking.
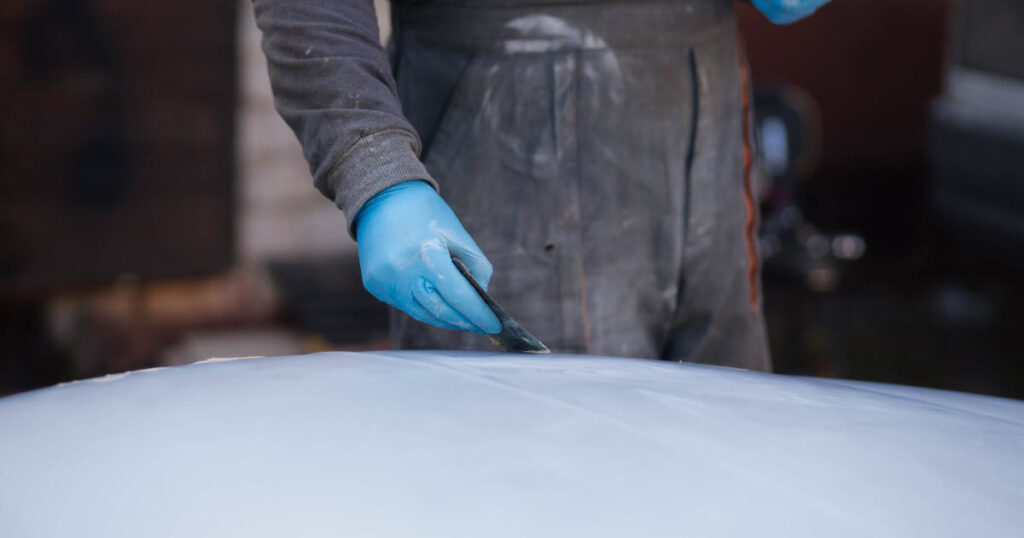
Preparing the Kayak for Paint (cleaning, sanding, masking and taping)
Like all painting projects, preparation is key. With the right preparation, you make sure that the paint you apply won’t peel and crack.
Cleaning the kayak and sanding it down are part of the preparation for priming and painting it.
Clean the Kayak
The first step is to clean the kayak. Use a mild detergent or another cleaning agent.
There are even special boat cleaners that you can use. They will be able to cut through the toughest of stains.
But before you clean your watercraft, remove any removable hardware, such as handles and hatches.
This will let you really get into the crevices and hard-to-reach surfaces. You can clean the hardware itself before removing it during this step.
You will want to remove any dirt, grime, oils, and even existing or leftover wax. Of course, this will depend on the condition of the boat before taking on the project.
Be sure to rinse the kayak well and let it dry completely before you do your painting.
Sand the Kayak
After you clean the kayak, be sure that it is entirely dry before you start sanding.
Sanding down your kayak before priming and painting is the best way to ensure a smooth surface. This will help your primer and paint stick better and last much longer.
Sanding Techniques
There are two types of sanding: wet sanding and dry sanding. It’s up to you which technique you use.
With wet sanding, you dampen the sandpaper before you do your sanding. This method reduces dust and helps achieve a smoother finish.
With dry sanding, you don’t dampen the sandpaper. Wrap the sandpaper around a block or sanding sponge, and rub this against your kayak to achieve a smooth texture.
Mask and Tape
You need to mask and tape parts of your kayak that you don’t want to paint. You can use painter’s tape to do this.
Simply use the tape to cover up the parts of the kayak you don’t want to paint.
This can include logos, serial numbers, and hardware.
You’ll find that this comes in handy especially if you have a specific design in mind for your kayak, giving you greater precision.
You should also protect your surroundings (anything that the paint could make its way onto). Think about laying down a tarp to keep the surrounding areas clean and free from paint and other debris.
Applying Primer to Your Kayak (step-by-step guide)
Make sure to prime your kayak before you paint. This will help to ensure that the paint will stick better and last longer.
Taking the time to prime your kayak has other benefits such as creating a uniform surface by filling in any cracks, reduced absorption of the paint to the original material, and overall color enhancement.
Why You Should Use a Primer
You should use a primer on your kayak before painting it. This is necessary because it drastically improves adhesion, consistency, durability, and overall enhanced protection for your watercraft.

Adhesion
Priming your kayak can enhance the adhesion of the paint. This allows it to stick to the boat better and last longer.
Taking this step helps prevent peeling, chipping, and flaking of paint over the long term.
Smooth Surface
A smooth uniform surface can be achieved by proper primer application.
Letting the primer sit and settle into the cracks and crevices of the boat can make for a smoother surface for when it comes time to paint the kayak.
Color Consistency
Consistency in the color of your paint can be ensured through even coats of primer application, making the final coat of paint more full coverage, in fewer coats.
Enhanced Protection
Adding primer means an additional layer of protection to your kayak without making the paint too thick and prone to cracking and peeling.
This adds an extra layer of protection from factors such as rust, corrosion, and even UV rays and other external elements.
In the end, proper preparation and priming of your kayak can lead to better coverage with fewer coats of paint.
Ultimately, this will save you time and money that would have been used on more paint to cover the entire vessel.
How to Prime Your Kayak
After selecting a primer that is compatible with the material of your kayak, you will want to ensure smooth application.
Some primers require mixing the solution together. Be sure to read the instructions.
Use a proper brush and application tools, and use them to apply the paint to your kayak.
Be sure to allow each layer to dry between applications of each coat.
Applying the paint in thin coats is the best way to get an even paint job. It will also help avoid drips and stains from drips.
2 to 3 coats of primer is a good amount to get started with the actual paint application.
Applying Paint To A Kayak (step-by-step)
After the successful primer application, it’s time to paint your kayak.
While the purpose in painting your kayak may be for protection, visibility, or camouflage, this step is also one that you can have fun with!
Painting your kayak offers a creative outlet as you have the freedom to paint it how you wish.
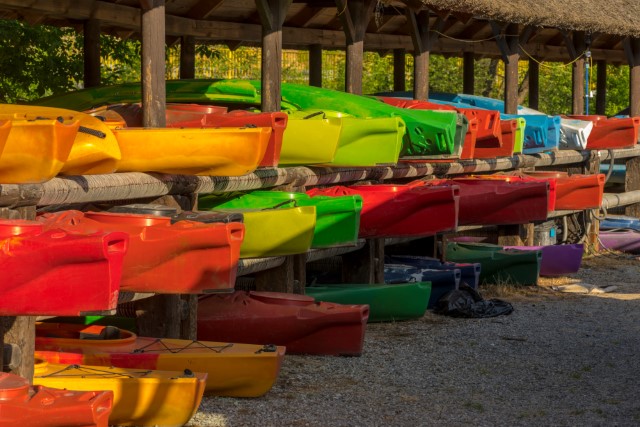
Many kayakers opt to paint their kayaks with bold patterns, pops of color, symbols, or indicators.
This is where the use of masking tape and different applicators can come in handy.
Painting Technique
The actual work of painting your kayak is generally a straightforward process, after you’ve done the priming and prepping.
Painting
After priming and choosing a design, the next step would be to evenly apply a base coat for further protection and for a nice solid backdrop on your design of choice.
The base coat may take a few layers before it reaches desired opacity. In which case, you will need to make sure to wait for the drying time in between layers.
After a base coat has been established, you will want to begin on your pattern. Again, you can use different applicators for this step depending on the complexity of the design.
Thinner brushes can be used for finer lines, and thicker brushes can be used to cover more space.
Keep in mind that just like the base coat, more coats may be required to reach the desired opacity of the pattern.
Sealant
Once you are satisfied with your paint job, it is time to seal in your design with a top coat of sealant.
Sealant is a top clear coat that you use to lock in your kayak paint and design. It also creates an attractive finish and gives your kayak extra protection.
Be sure to select a sealant that is compatible with the type of paint you’re using. This will prevent cracking and make sure that you get optimal results.
Just like the primer and paint, you will want to apply the sealant in smooth, even applications, allowing the sealant to dry completely between coats.
The Final Step (curing and touch-ups)
Just like all DIY projects, the finishing touches are the last part. They can make a huge difference in the overall outcome of the paint job.
Make sure that your kayak’s paint job has finished curing before you do these.
Curing the Kayak
You need to understand the difference between drying and curing. If you’re new to kayak painting, you may not realize that these are two different processes.
Drying is done in between layers and refers to the process of the paint evaporating and leaving the paint dry to touch.
Keep in mind, when paint is dry, it doesn’t necessarily mean it is cured.
Curing occurs when the paint is completely dry, and the paint has successfully stuck onto the walls or surface of the kayak.
Curing must be completely done before the kayak is ready for the water. If you use your kayak too early, you will end up with chipped or peeled paints.
When curing your painted kayak, you will want to consider factors such as proper ventilation, temperature, and humidity. More ventilation will allow for the paint to dry faster and without the buildup of harmful fumes.
In the same token, you will want to consider temperature and humidity as curing times can be influenced. Generally, warmer temperatures and lower humidity will allow for faster curing in comparison to colder temperatures and higher humidity.
Finishing Touches
After successfully curing your kayak, you can take off the tape and put the hardware back on.
If the paint of your kayak has cured successfully, this should be done smoothly.
Removing the painters tape on your kayak can be a satisfying process. Be sure to do it carefully and clean up any residue that may be left behind from the tape.
After you are satisfied with the way the cured paint looks, you can reattach any fixture or hardware that you took off during the preparation phase.
Be sure to be cautious and use the proper tools to do so. Hatches and handles can be easily reattached and can use additional touch ups if needed.
How to Maintain a Kayak After You Paint It
At this point, we can all agree that painting a kayak is a long and tedious process. From the set up, to the priming and coats, and the long curing process, it would be a waste to not maintain it to the best of your abilities.
Luckily, there are many ways to keep your kayak in pristine condition, without breaking the bank or your back.
Regular Cleaning
Cleaning your kayak regularly and after each use is important. This prevents breakdown that can be caused from leftover debris such as salt, sand, and other debris.
You will want to make sure to avoid the use of harsh chemicals to keep the paint intact and make sure to completely dry the kayak before storing to prevent rust and corrosion.
Storage
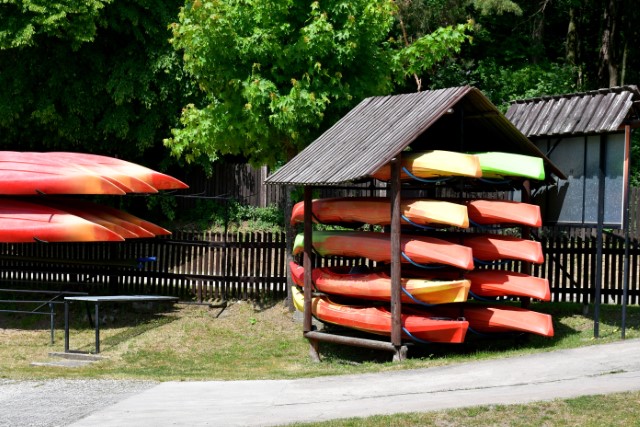
When it comes to storing your kayak, you will want to make sure you are storing it in a cool, dry space that is away from direct sunlight.
UV rays that come from the sun can damage your kayak and cause the paint to fade. You will also want to make sure to keep it covered to avoid additional wear and tear.
Handling
Of course, with proper maintenance also comes proper handling and use of the kayak. You want to be careful.
This includes avoiding dragging the bottom of your kayak as it can degrade the paint significantly and with a single move depending on the material of the surface you are dragging it down along.
You will also want to consider the paddles, as they may be sharp and can scratch your kayak’s interior or exterior coatings.
Touch Ups
Things happen, and sometimes you can’t avoid a scratch or a dent on your kayak. In this case, you will want to take on regular routine inspections and touch-ups so that the value of the kayak does not depreciate all at once.
A touch-up on a scratch every now and then goes a long way. Remember it’s easier to touch up every now and then rather than having to redo an entire paint job. If you can, keep a container of the same paint shades handy for touch-ups on your kayak.
Final Thoughts About Painting Your Kayak
In the end, painting your kayak is an activity that you can take on yourself. Not only can it be an activity that is fun, therapeutic, and creative, but it offers great benefits for your boat. Not to mention, it saves a lot of money and brings up the value of your kayak altogether. While the process may be tedious, the rewards and savings are great.
With the proper tools, preparation, techniques, and a whole lot of patience, you have everything you need to do your own paint job at home, like a pro.