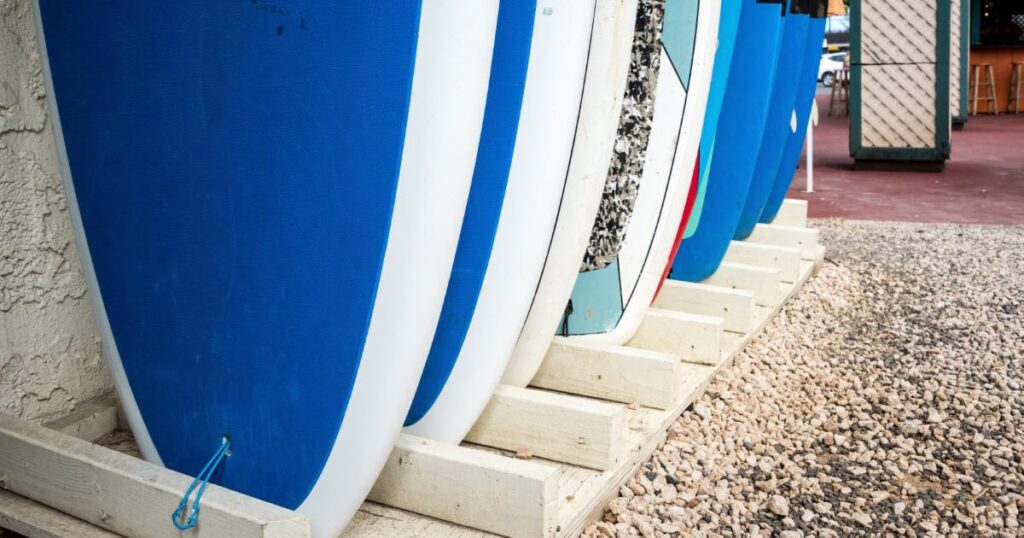
Stand up paddle boarding has become a popular activity for water sports enthusiasts. However, storing your paddle board can be a problem, especially if you didn’t opt for the inflatable variety. The boards vary in size and design, often taking up more space than anticipated, which can be frustrating and leave your garage in a complete mess. Today, I’ll tell you what you need to know about paddle board storage.
In today’s article, I’ll share some of my best paddle board storage ideas – from ready-made hoists you can buy online to DIY racks you can build for yourself in an hour. Whichever type of storage you choose, you will be able to keep your SUP tucked away until you’re ready to hit the water.
Using racks, stands, and ceiling suspensions are easy ways to store your paddle board. With proper storage, you can reclaim your garage space while ensuring your SUP stays protected, improving its longevity.
This post will be a detailed guide for paddle board storage ideas and their benefits.

Additionally, I will look at some creative DIY rack options to try out and how you can finally get rid of all the clutter in your garage.
Types of Paddle Board Storage
Let’s examine some common paddle board storage choices to help you regain that needed space.
Using a Rack
Racks are a popular way to free up space and keep your paddle board safe. You can use racks around your garage, creating more storage and enhancing the accessibility of your equipment.
Depending on your preference and space restrictions, there are a couple of rack options you can try out.
Vertical Wall Racks
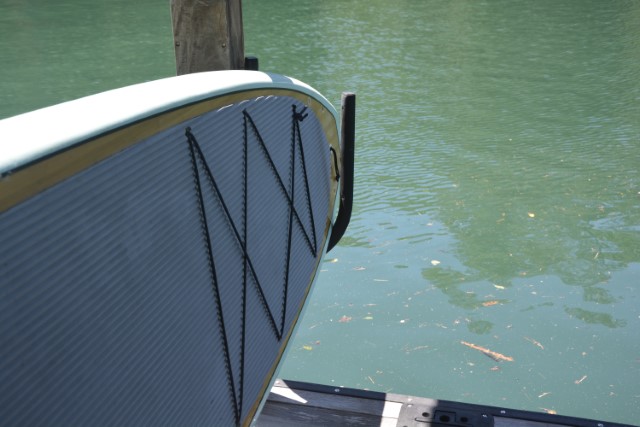
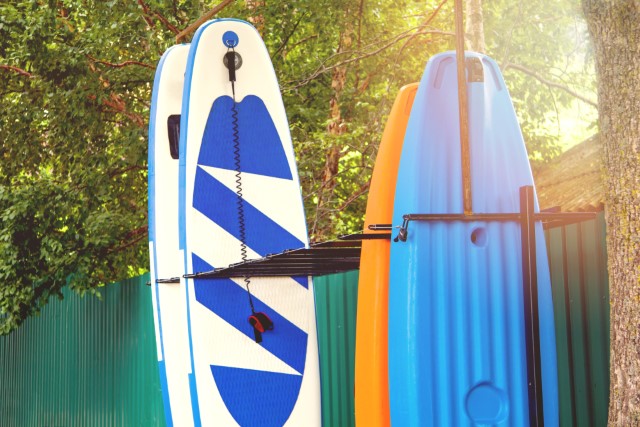
Vertical wall-mounted racks are a perfect way to solve your SUP storage problems. The rack holds the boards vertically and securely against the garage or shed wall.
The racks are ideal for reclaiming space rather than having your paddle take up valuable floor space. By mounting your boards vertically, you free up enough space to store more equipment and even park your car.
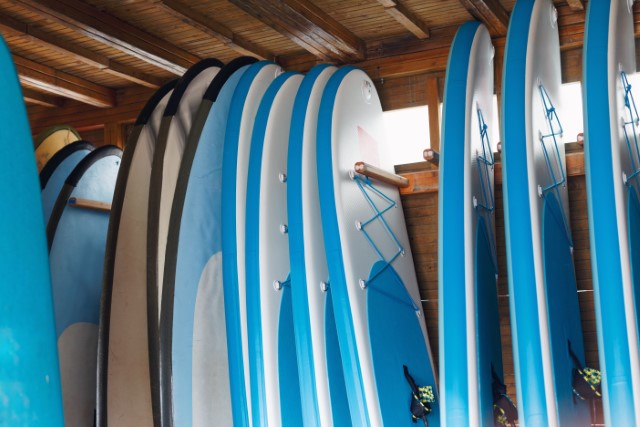
Vertical wall racks also provide storage versatility. Racks with multiple shelves can support multiple boards and surfing accessories like paddles.
Some vertical boards also have adjustable arms that hold boards of different sizes, including surfboards.
Horizontal Wall Racks
Alternatively, you can use horizontal wall racks for storing your standup paddle board.
The rack holds the boards parallel to the wall. It only takes a few minutes to install one of these racks.

Horizontal racks are also versatile for holding your paddle board. Most racks have two or more arms to hold your board.
Some racks also have adjustable arms that accommodate various SUP widths.
However, if you consider storing multiple boards, install a sturdy rack to take the added weight. Strong plastic or metal racks should do the trick.
Ceiling Racks
A ceiling rack can also be handy if you have limited space for a vertical or horizontal rack. Installing ceiling racks allows you to suspend the standup paddle board from the ceiling.
The racks consist of a pair of sturdy hooks mounted to the ceiling and arms that securely hold the board in place. Most ceiling racks have either one or two arms on each hook, which might limit the number of SUPs you can store.
Other ceiling racks also have a pulley system attached to the arms. The pulley allows you to lower or raise the rack for easy access.
Though manual pulley systems are the most common, you can also opt for an electric system for convenience.
Overhead storage is a good idea but also comes with a few limitations. Suspending multiple boards on the rack can be risky, especially if you surpass the rack’s load-carrying capacity.
Likewise, ceiling racks with a pulley system are more expensive, and manually retrieving or putting the boards back onto the rack can be exhausting.
Freestanding Racks
Freestanding racks are also a good option if you are looking for convenient storage without mounting a rack to the wall or ceiling.

One benefit of freestanding racks is their added mobility. You can easily move the rack around the garage, shed, or basement.
Additionally, small-sized racks are excellent for traveling if you are going for a weekend or summer water excursion.
Furthermore, freestanding racks offer more storage versatility. You can get a portable vertical or horizontal rack, depending on your preference and space requirements.
They also have multiple shelves or arms to accommodate your SUPs and surfboards.
Take advantage of the adjustable and removable arm features. You can easily adjust or detach the rack’s arms, providing more space for thicker boards.
Using SUP Board Stands
Another quick alternative for your paddle board storage issue is board stands. You can store your SUP on a pair of sturdy steel stands with rubber linings that hold the board in place.
The stands come with two paddle board storage orientations: vertical or horizontal.
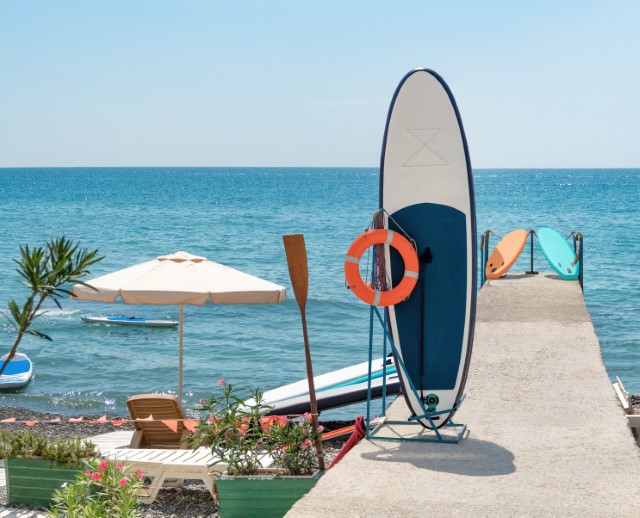
SUP board stands do not require any installation and are portable-friendly. You can easily move the stand pair to any part of your garage or shed for storage convenience.
You can also carry the stands to the beach, protecting the board from abrasive sand or rocky surfaces.
A drawback of board stands is that the pair can only accommodate one standup paddle board. If you own multiple paddleboards, you would need to get multiple pairs of stands to help store all of them, which can be pricey.
Additionally, they will take up more space.
Suspending the SUPs
Suspending your board to the ceiling is another alternative to installing a ceiling rack. The two options might have the same principle but are slightly different.
Unlike storing your standup paddle board on a rack, you use a hoist system to suspend it from the ceiling. The hoist requires sturdy hooks that mount to the ceiling, strong suspension cables, and straps to secure and hold the paddle board.
You can install a pulley system to help raise or lower the board instead of getting a ladder or stool during storage. You can pick between a manual or electric pulley system, depending on your needs.
However, you should only use a hoist suspension system on one paddle board. Attaching multiple boards to a single hoist system might stain the cables and hooks, leading them to snap and cause a disaster.
Using the Storage Bag for Inflatable Paddle Boards
Inflatable paddle board owners have more storage options than other people. If you are one of these lucky people, then listen up.
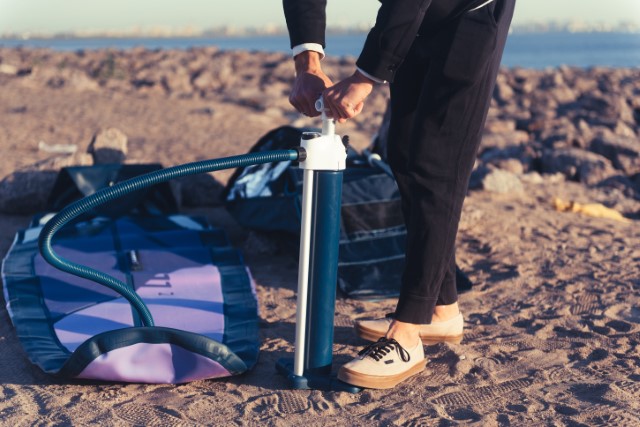
It is never advisable to store an inflatable SUP while still inflated.
Before returning it to its sturdy storage bag, you must fully deflate the paddle board. You should store the SUP bag in a cool, dry, dark place around the garage, away from sharp objects.
If you plan to place the SUP on a rack, deflate the board to about 20% of its maximum PSI. You should note that storing an inflatable paddle board in a hot area can cause air inside it to expand, leading to an explosion.
Benefits of Proper Storage
Most SUP owners understand that the boards favor calm water conditions rather than harsh ones. You will likely lock up your board for a prolonged period before you find the ideal conditions to take it out for a ride.
That said, properly storing your board has a couple of benefits.

1. Protecting your Board from Damage and Deforming
One major challenge you will face with improper paddle board storage is damage and deformation.
Your garage or shed might not be the safest place for your SUP. Paddle boards tend to deform when constantly exposed to different temperatures and humidity. You will have to deal with reduced performance, affecting your experience.
Properly storing your paddle board also prevents scratches, dents, and splitting. Most garages and sheds are ideal places to keep rarely used equipment like hammers, nail guns, or rakes.
If your tools fall on the board, they might cause damage, leading to costly repairs or the need to replace the board.
2. Protecting Your SUP from Sunlight
Likewise, constant exposure to sunlight can damage your paddle board. The sun’s ultraviolet rays can cause board discoloration, leading to costly maintenance.
Too much heat can damage your SUP’s core material, reducing performance.

3. Increase the Lifespan of Your Paddle Board
Ultimately, no one wants to keep replacing paddle boards due to damage. Proper storage can ensure your board has a longer lifespan.
Minimizing damage during storage decreases stress on the board’s material and structural integrity, reducing the need for repairs or replacements.
4. Enhances Personal Safety
Clutter is unpleasant and can even create a safety hazard for you and your family. For example, if you store it inappropriately in your garage and then walk in to get the lawn mower, you could end up tripping and falling.
5. Saves Space
Furthermore, proper storage habits optimize space usage and reduce clutter. Racks are a great way to maximize storage and free up floor space, even if you have one or multiple standup paddle boards.
Inflatable boards adequately free up more space as you can fold and put them in a labeled container if you have limited storage options.

6. Protects your Board from Theft
Keeping it secure is another reason you should correctly store your paddle board. You’ve spent significant money on your SUP, and if you leave it in an open woodshed or outdoors, people might steal it.
7. Provides Easy Accessibility
When you designate storage areas for your paddle boards, accessing them is effortless and takes less time. Rather than bumping into tools and equipment, tidy spaces are easy to navigate, so that you could find what you need.
Creative DIY Rack Ideas
You have to store your paddle board properly in order to maintain its performance and integrity. But what happens if buying racks is too expensive?
DIY solutions can be a massive help!
With some imagination and basic tools, you can create a customizable rack to store your SUP, tailored to optimize space in your garage.
Here are some budget-friendly ideas to help with your storage issue.
Wooden Storage Racks
The easiest DIY solution to try is making a wooden rack. A huge benefit of using wood to make your rack is due to its abundance, and it’s not too expensive.
Making these racks requires only basic woodworking knowledge and a few tools.

Step-By-Step Instructions for Creating a Wooden Rack
- First, you need to create a wooden rack design. For inspiration, you can search some popular rack designs used for SUP storage. When designing, consider if you want a vertical or horizontal rack, if it should be wall mounted, and the number and spacing of its arms.
- Afterward, find the perfect wood variety for your board rack. You can opt for a hardwood or softwood species that offers excellent durability and finish after treatment, staining, and polishing. Visit your local wood store to check the variety and buy pre-cut boards.
- Make sure you have the necessary equipment for the DIY project. You will need safety goggles, a sliding miter saw, tape measure, screws, a drill, sandpaper, and wood stain and varnish.
- You must cut the arms to size and ensure they fit perfectly to the rack frame. Using a tape measure, measure how long and wide you need the arms, then use the sliding miter saw to cut the board to the desired size and design.
- After cutting the arms to size, you need to assemble the rack. Ensure all the arms have enough space to match your board’s thickness, then attach the arms to the frame using the screws.
- After assembly, you must sand down the rack and smoothen all the edges. Start with the rough grit sandpaper and then slowly go down to the smooth grit sandpaper until you get the designed professional look.
- Once you sand, you need to stain the rack. Use a brush to apply a thin and consistent coat, and let it dry before applying another stain coat. You should apply at least three coats.
- Lastly, apply a thin layer of wood varnish or polish to protect it from water and highlight the wood’s color. Apply the polish using a brush and wait for it to dry before applying your next coat. You should apply at least two coats.
PVC Pipe Racks
Another fun DIY solution for your paddle storage is making a PVC pipe rack. PVC pipes and their connectors are affordable and easily accessible.
You can save a few more bucks by reusing PVC pipes around the house.

Step-By-Step Instructions to Make A PVC Pipe Rack
- Start by designing the rack. The design should focus on stability, how many tiers or shelves the rack should have, and shelf spacing.
- Secondly, gather the tools and materials needed for the project. You will need one-inch diameter PVC pipes and their corresponding elbows, tees, and sockets. You also need a pair of safety goggles, a marker, a handsaw, and a tape measure.
- Cut the PVC pipes into three categories using the handsaw: the long bars, side bars, and connector bars. The long bars run the length of the rack, while the side bars run its width, and the connectors run its height. The long bar pieces should be eight feet long each, the side bar pieces should be about four feet long, and the connector bar pieces should be half a foot long each.
- Next, place four sockets as the base of the rack, then attach a connector bar to each socket.
- Then add the tees and long bars to make the first tier in your rack.
- Afterward, add more connector bars and tees and connect the side bars.
- Add connector bars and tees and connect the long bars to make the rack’s second tier.
- Repeat steps six and seven to add more tiers to your rack, but you should make a maximum of three tiers for the best structural integrity. At this point, you can push the pipes together at every tier to tighten the joints.
- Once you get to the final tier, add connectors and an elbow joint to connect the top side bars.
Repurposing Ladders as SUPs Racks
Repurposing old ladders can also be another way to create your DIY paddle board storage rack. This can save on having to buy material for your project.
Step-By-Step Instructions to Repurpose a Ladder
- Find an articulated ladder or two ladders with the same distance between steps.
- Check if the ladder rungs or steps are wide enough to fit your paddle board. The rungs should be at least four feet long.
- If the rungs are wide enough, you must lock the spreader locker for articulated ladders to prevent the ladder from folding.
- If you use two ladders, you must create a firm top to connect them and prevent them from moving. You can use a beam to connect both ladders and lock them in place.
Expert Tips for Organizing a Clutter-Free Garage
Garages are notorious for their clutter. While ignoring the mess sounds like a great idea, it can make it harder to access equipment.
Additionally, dirty and dark garages can be a breeding ground for nasty bacteria, mold, and fungus that wreck your SUP’s integrity and cause health issues.
That said, a lot is at stake if you have a disorganized garage.
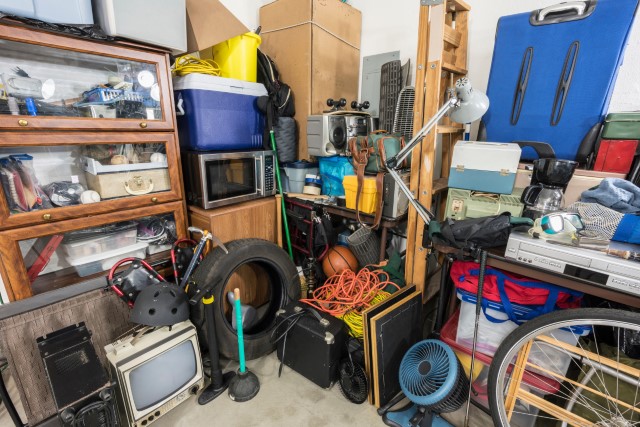
Keeping your garage organized can make life easier and prevent unnecessary risks like tripping over baseball bats or cables. Let us look at some tips to help get your garage clutter-free.
1. Declutter Your Garage
The first step is taking out all the clutter in the room. You must carry out everything and put it in the driveway or backyard.
Moving the items can help you determine which ones are still in use, which need repairing, and which have too much damage.
2. Organize by What You Need
Afterward, you must sort out the items by how often you use them. This will help you determine things to keep, throw away, or donate.
3. Determine Your Available Space
Now that all the clutter is out, you should know how much space you can use.
Start by marking out how much floor space you need for parking. You can use the available space left for storage.
4. Create a Shelving System
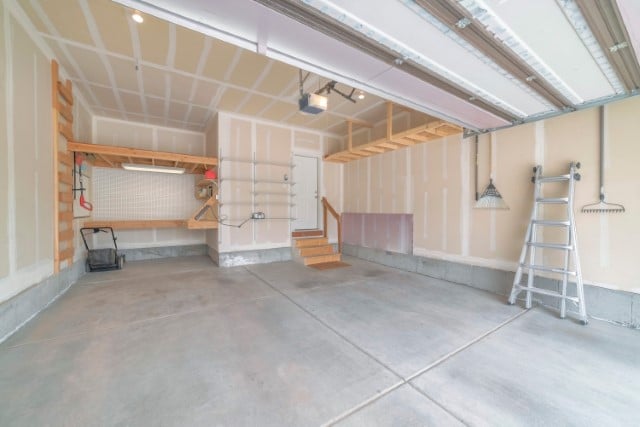
You should mark out any available wall space to mount shelves or hooks that will hold your tools, equipment, or storage containers. Create racks for tall items like paddle boards or bikes and decide where to mount them.
You can also get moving or adjustable shelves to cater to any organizing ideas you might have in the future.
5. Use Storage Containers
You should also use storage containers to keep things tidier. Get containers that vary in different sizes depending on what you are storing.
You can store things like toys or electrical cables together to make it easier to find later.
6. Label What You Can
A good storage habit is labeling your equipment to make things easier to find.
This will help save time opening every container while looking for items. You should clearly label the containers or use a color-code system to make your job more effortless.
7. Make Use of Ceiling Space
If you run out of wall and floor space, you can use the ceiling to keep the remaining items. You can mount ceiling hooks to suspend storage boxes or taller objects, like paddles and other surfing gear.
Use strong straps and cables to ensure the items are safely secured and will not fall off or get in your way.
Final Thoughts: Paddle Board Storage
As I’ve shown here, it’s easy to correctly store your paddle if you know how.
There are various storage options for your SUP, including using racks, board stands, suspending the board, or storing inflatable boards back in their storage bags.
Proper storage can help reduce paddle board damage, which can ruin its performance and durability. Additionally, safely storing your board enhances its security and safety, plus it declutters your garage.
If you are on a budget, making DIY storage racks can be helpful. Some rack ideas that you can try out are making wooden or PVC pipe racks.
Additionally, you can repurpose the old ladders to make a sturdy rack for your board.
Lastly, having good storage practices can help you find enough space in your garage for your paddle board and other items. You can start by sorting out the items and creating shelves and racks for storage.

